Identifying bad spray foam insulation early can save you thousands in structural repairs and mortgage complications. Spray foam that’s improperly installed or has degraded over time creates serious problems: moisture damage, roof rot, failed mortgage valuations, and health concerns from off-gassing. This guide from IUEX walks you through exactly how to identify bad spray foam before it becomes a costly crisis.
The challenge most homeowners face is recognising the warning signs before damage becomes visible. You might have spray foam sitting in your loft right now that looks fine on the surface but is already failing underneath. Many property buyers discover spray foam issues only when their mortgage lender flags it during valuation, by which point, negotiating repairs becomes complicated and expensive.
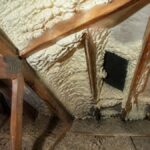
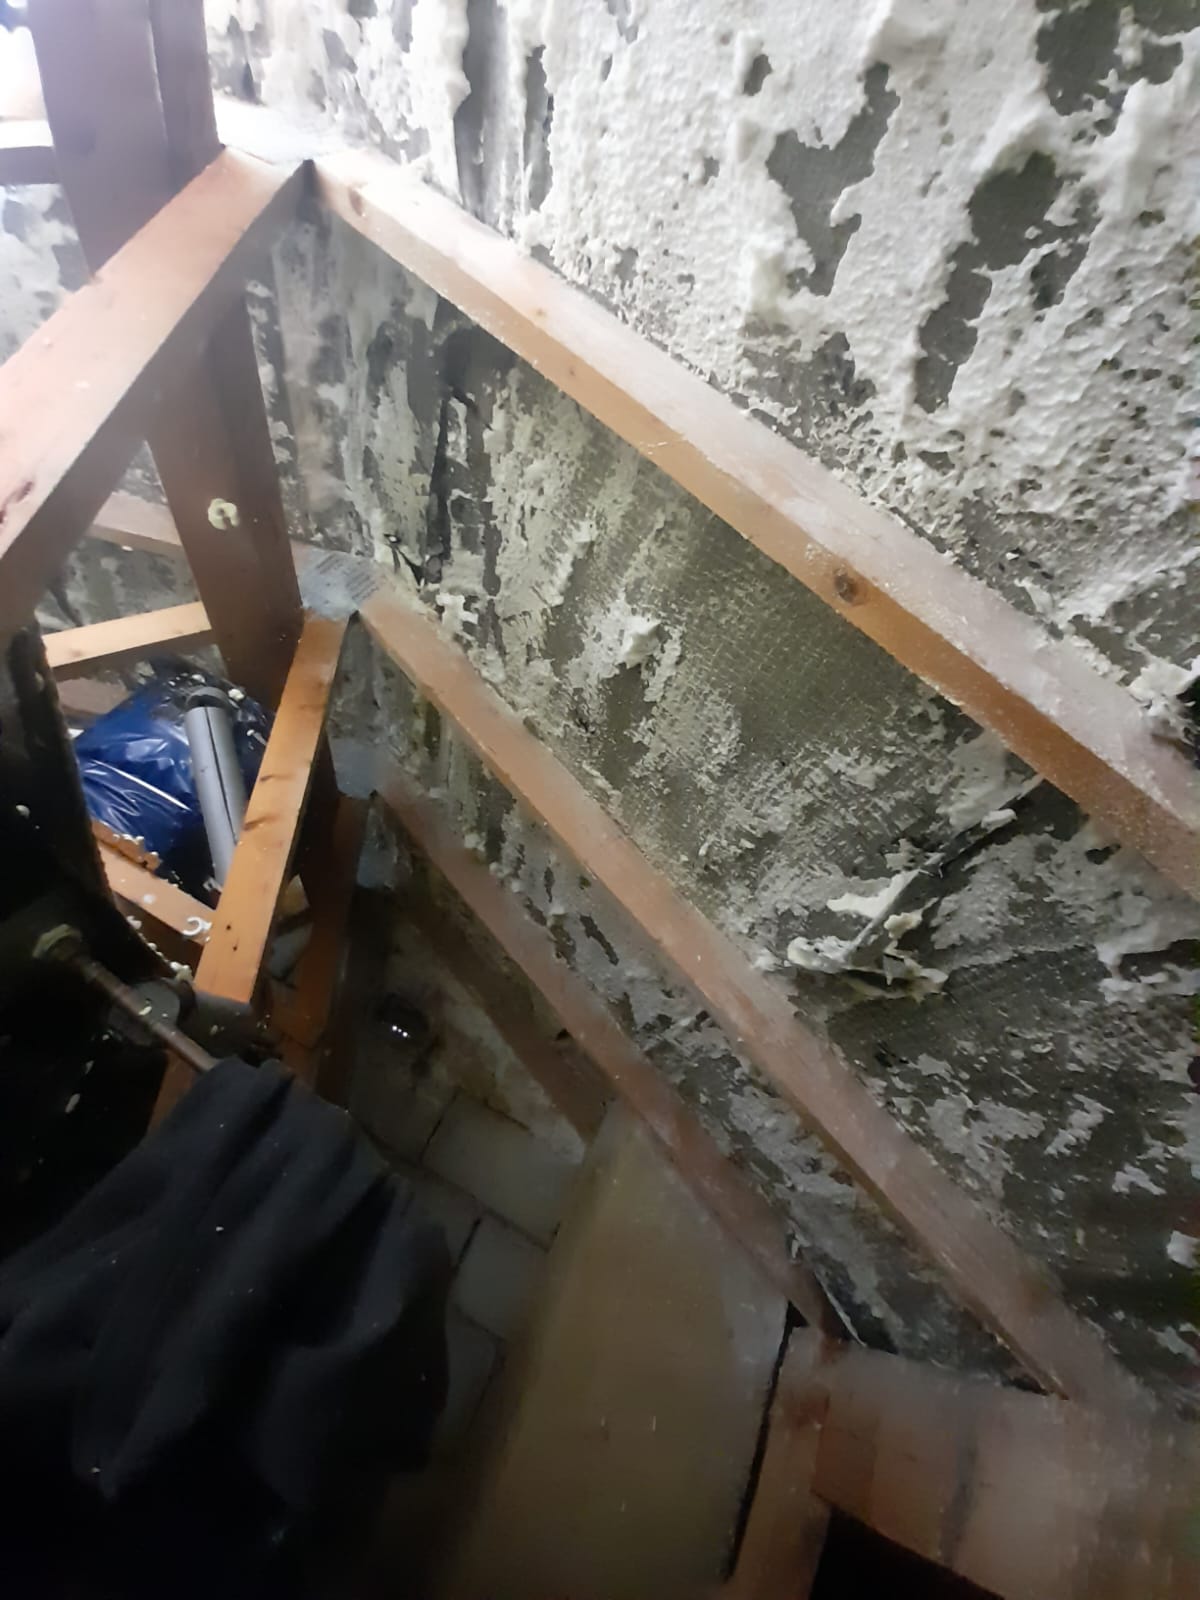
Bad spray foam shows itself through specific visual clues. Look for discoloration, brittleness, and unusual texture changes. These aren’t cosmetic issues, they signal that the foam’s chemical structure is breaking down.
Discoloration appears as yellowing, browning, or dark patches across the foam surface. This happens when the foam is exposed to UV light or when the resin hasn’t cured properly. Brittleness is another red flag: healthy foam should feel slightly flexible. If it crumbles, cracks easily, or feels chalky when you touch it, the material has degraded significantly.
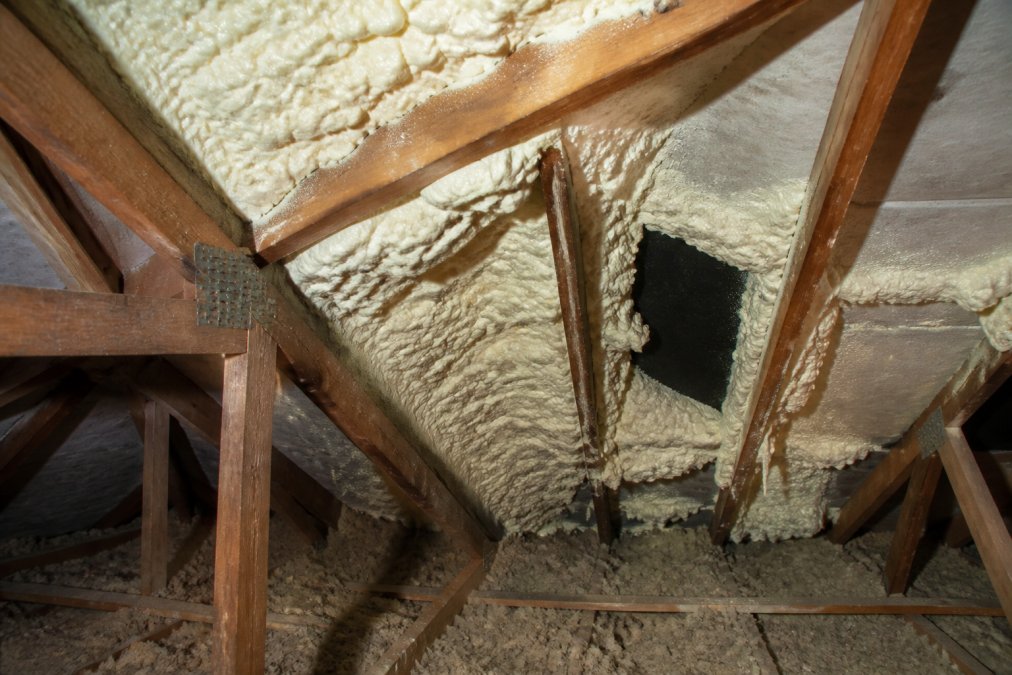
Patchy coverage is equally concerning. Spray foam should create a continuous, uniform layer. Gaps, thin spots, or uneven thickness mean the insulation isn’t performing its job. Poor coverage often indicates a rushed installation or equipment malfunction during application.
A persistent chemical smell in your loft is a clear warning sign. Properly cured spray foam should have minimal odour after a few days. Strong chemical smells weeks or months after installation suggest the foam is still off-gassing, releasing volatile organic compounds (VOCs) into your home.
Off-gassing happens when the foam’s chemical components haven’t fully cured or when the material is degrading. This creates indoor air quality issues and can trigger headaches, respiratory irritation, or allergic reactions in sensitive occupants. The smell often gets worse in warm weather when the foam releases more VOCs.
Watch OutIf you notice chemical odours accompanied by health symptoms like persistent headaches or throat irritation, ventilate the space immediately and consider professional testing. Prolonged exposure to VOCs can affect respiratory health.
Mortgage lenders have become increasingly cautious about spray foam insulation. Many reject properties outright or demand removal before lending approval. Understanding why this happens helps you navigate the situation strategically.
Lenders flag spray foam because of documented risks: moisture trapping, thermal bridging failures, and structural decay in roof timbers. They’ve seen too many claims where spray foam installation caused the very problems it was meant to prevent. A mortgage valuer will typically recommend removal or demand a specialist’s certificate confirming the foam is performing correctly.
The critical issue is that most standard spray foam installations don’t come with proper certification or guarantees.
Key TakeawayLenders reject spray foam properties because of moisture and structural risks, not because they’re being overly cautious. A professional assessment with proper certification is your fastest path to mortgage approval.
Roof rot develops when spray foam traps moisture against timber. This is one of the most serious consequences of poor spray foam installation, and it’s often hidden until damage becomes severe.
Spray foam can trap moisture in two ways. First, if the foam is installed directly against timber without a vapour barrier, it prevents moisture from escaping. Second, if the foam itself is absorbing water (which happens with low-density or poorly cured foam), it keeps timber permanently damp.
During inspection, look for soft spots in timber when pressed with a screwdriver or probe. Sound timber resists the tool; rotted timber yields easily. Check for discoloration, both dry rot (grey, crumbly appearance) and wet rot (dark staining) are warning signs.
Best ForHomeowners whose properties show signs of damp or discoloration in the loft space should arrange professional inspection before attempting any remediation work.
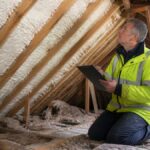
You can perform an initial visual assessment yourself. This won’t replace professional testing, but it gives you a baseline understanding of your foam’s condition and helps you decide whether to call in specialists.
Gather these items before entering your loft:
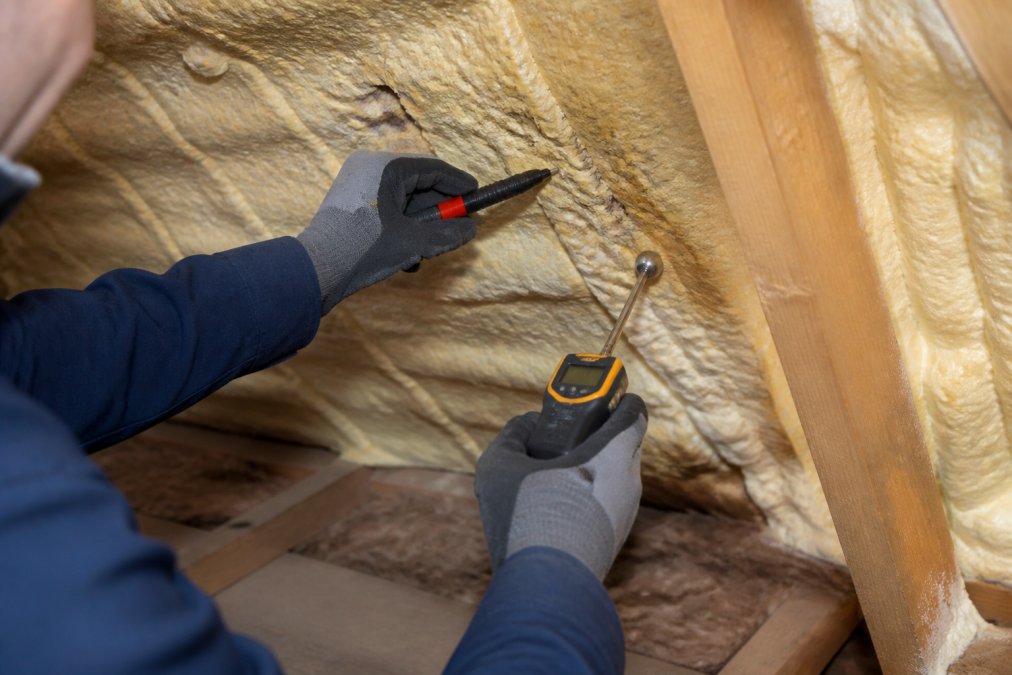
Start by assessing how densely the foam was applied. Run your hand across the surface. Healthy spray foam feels firm but slightly yielding. If it feels rock-hard or crushes easily, density is wrong.
Spray foam shrinks slightly as it cures, but excessive shrinkage signals problems. Look for gaps between the foam and timber edges. Small gaps (under 5mm) are normal; larger gaps indicate the foam shrank more than expected or wasn’t installed correctly.
Examine the foam’s colour. It should be consistent, usually yellow, white, or pink depending on the product type. Discoloration suggests UV exposure, improper curing, or degradation.
Use your moisture meter on the foam surface and on exposed timber nearby. Foam readings above 15% moisture content indicate water absorption. Timber readings above 20% suggest active moisture problems.
Proper roof ventilation prevents moisture accumulation. Check whether soffit vents (at the eaves) and ridge vents (at the roof peak) are clear and unblocked. Blocked vents trap moisture, accelerating foam failure and timber decay.
Once you’ve identified bad spray foam, you need a clear remediation plan. This involves deciding whether professional removal is necessary and understanding what comes next.
Your visual inspection tells you whether obvious problems exist. But it can’t assess everything. Professional testing uses moisture meters calibrated for building materials, thermal imaging to detect hidden moisture, and expert knowledge of building regulations compliance.
You should seek professional assessment if you find:
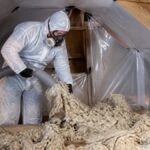
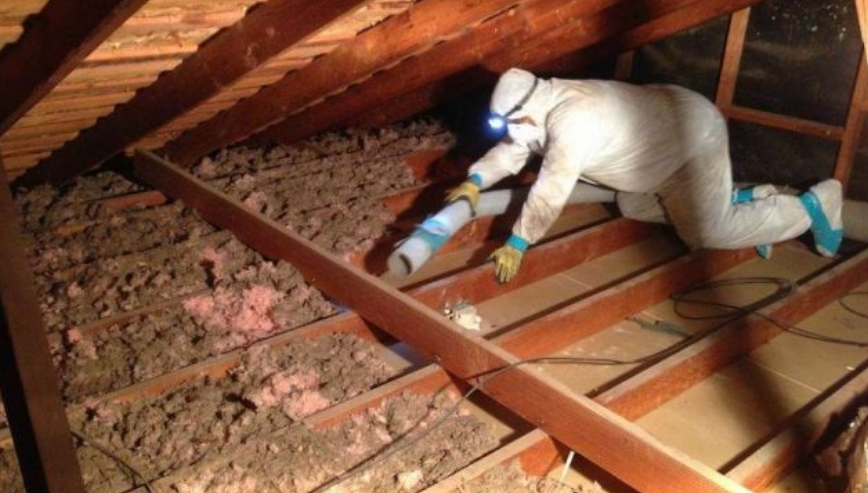
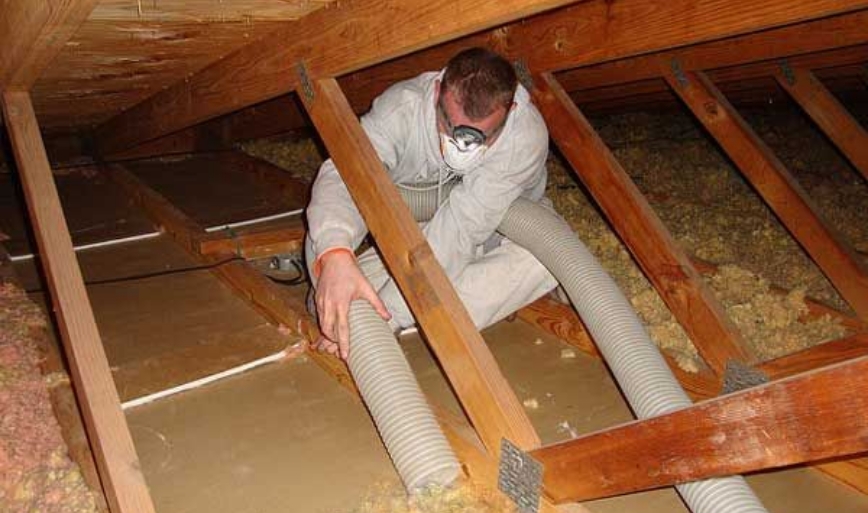
Professional removal involves several stages. First, the specialist surveys the full extent of foam and any damage. Second, they develop a removal plan that protects your roof structure and prevents further damage during extraction. Third, they safely remove the foam and dispose of it properly. Finally, they restore ventilation and address any timber damage discovered.
Pro TipRequest a written assessment report before committing to removal. This report becomes your evidence for mortgage lenders and insurance claims, and helps you understand exactly what work is needed and why.
Many homeowners damage their loft space or miss critical warning signs during inspection. Here’s what to avoid.
Bad spray foam creates cascading problems: mortgage rejection, structural decay, health concerns, and expensive remediation. Early identification is your best defence. Visual inspection gives you a starting point, but professional assessment is essential for understanding the full picture and planning remediation.
Poor spray foam installation typically shows patchy coverage with gaps between foam sections, uneven density, visible shrinkage, and discoloration. You may also notice a persistent chemical odour indicating off-gassing from under-curing. Moisture staining, condensation buildup, and brittleness when touched are further indicators. In severe cases, the foam may have failed to adhere properly to roof timbers. A professional survey can confirm installation defects and assess whether the foam meets building regulations standards for thermal performance and vapour permeability.
Mortgage lenders reject properties with spray foam because it can trap moisture, cause roof rot, and fail to meet current building regulations. Poor installation creates thermal bridging, reducing insulation effectiveness. Additionally, some open-cell foams off-gas volatile organic compounds (VOCs) that raise health and air quality concerns. Lenders require professional certification that the foam meets standards or evidence of professional removal. Without proper documentation or remediation, spray foam can prevent mortgage approval and equity release funding, which is why many homeowners need specialist removal services to restore their property’s value and mortgage-worthiness.
A persistent chemical odour in your loft or upper rooms is the strongest indicator of active off-gassing, particularly in poorly ventilated spaces. This smell suggests the foam is still releasing volatile organic compounds (VOCs) from incomplete curing. However, the absence of odour does not guarantee the foam is safe, under-cured or degraded foam may off-gas without a noticeable smell. Health symptoms such as headaches, respiratory irritation, or eye watering when in the loft can also signal VOC exposure. Professional testing kits or a certified surveyor can measure actual emissions and curing status, providing definitive confirmation beyond your senses.
Document all visible issues with photographs and detailed notes of locations, extent, and symptoms observed. Check your mortgage documents and any warranties from the original installation. Contact your lender to understand their specific requirements for remediation or removal. For structural concerns like roof rot or moisture damage, obtain a professional survey to assess the extent of damage and necessary repairs. If removal is needed, obtain quotes from certified specialists who can issue mortgage and equity release certificates. Do not attempt removal yourself, spray foam requires proper containment and disposal to prevent health risks and ensure compliance with building regulations.
How to Identify Bad Spray Foam: A Diagnostic Guide Home…
Is Spray Foam Removal Tax Deductible? 2026 Guide Home Get…
How to Clear Your Loft for Conversion: Step-by-Step Guide Home…