Roof dampness is moisture that has entered a roof structure through a defect, a ventilation failure, or both, and roof dampness almost always leaves a trace back to its origin. At IUEX, we’ve spent over 15 years removing spray foam and loft insulation from homes.
Before you climb anything or call anyone, do this:
A moisture meter gives you a reading rather than a guess. Readings above the dry baseline for timber suggest water is present, not just surface condensation.
Watch Out: Do not paint over a damp stain before you’ve found the source. It hides the evidence you need, and the moisture keeps working behind the new coat until the plaster fails.
Loft condensation and a roof leak look similar on a ceiling but behave very differently, and telling them apart decides whether you need ventilation or a repair. Condensation builds up when warm, moist air rises into a cold roof space and can’t escape; a leak lets water in from outside through a specific defect.
The tell-tale signs:
| Sign | Condensation | Roof Leak |
|---|---|---|
| Timing | Worse in cold mornings and winter | Worse during and after rain |
| Location | Widespread, often on cold surfaces | Localised, often one patch or line |
| Roof space | Damp timbers, black mould on rafters | Water staining, drips, wet insulation |
| Smell | Persistent musty odour | Damp smell that fades between rain |
If the dampness appears everywhere the roof space is coldest, you’re dealing with condensation. If it tracks down from one point, it’s water ingress.
Guidance on condensation and damp in homes
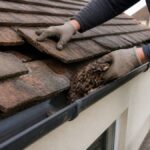
A roof inspection starts at ground level and works upward, because most water ingress begins at the edges, not the middle. Binoculars will show you slipped tiles, cracked slates, and blocked guttering before you get on the roof at all.
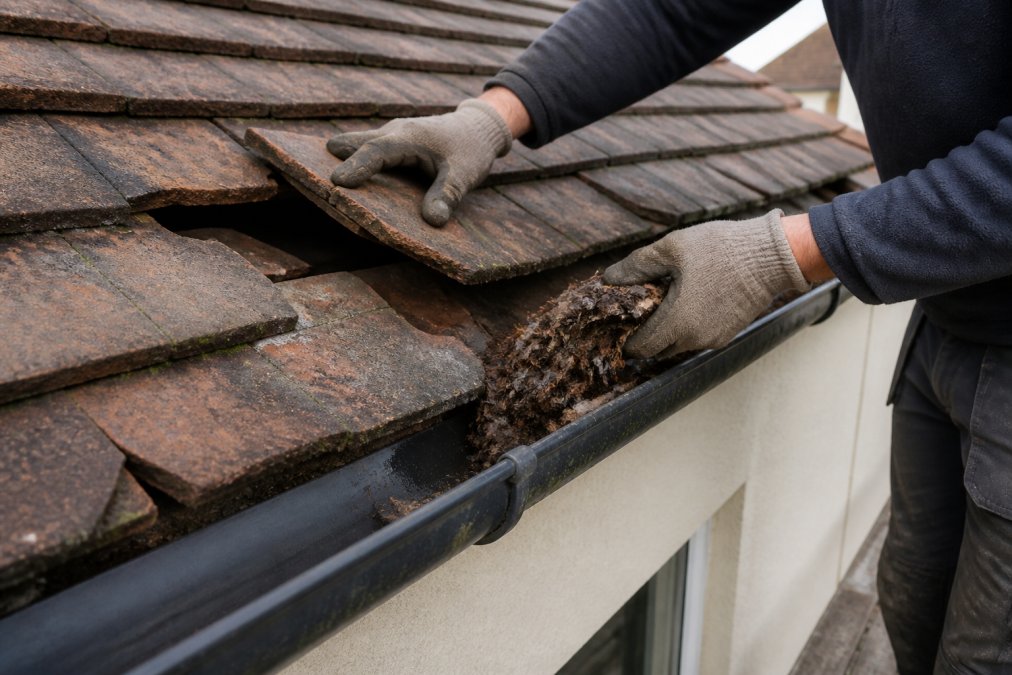
Work through these checks:
Pro Tip: Check the guttering on a dry day first, then again during heavy rain. You’ll see exactly where water overflows or escapes a joint, which is far harder to spot once everything is wet.
Roof ventilation requirements in the UK are set out in Approved Document C of the Building Regulations, which sets how roof spaces should be ventilated to prevent condensation. For a cold roof, the roof space needs continuous ventilation at the eaves, plus high-level ventilation where the roof pitch or span requires it.
What that means in practice:
Approved Document C, resistance to moisture and weather
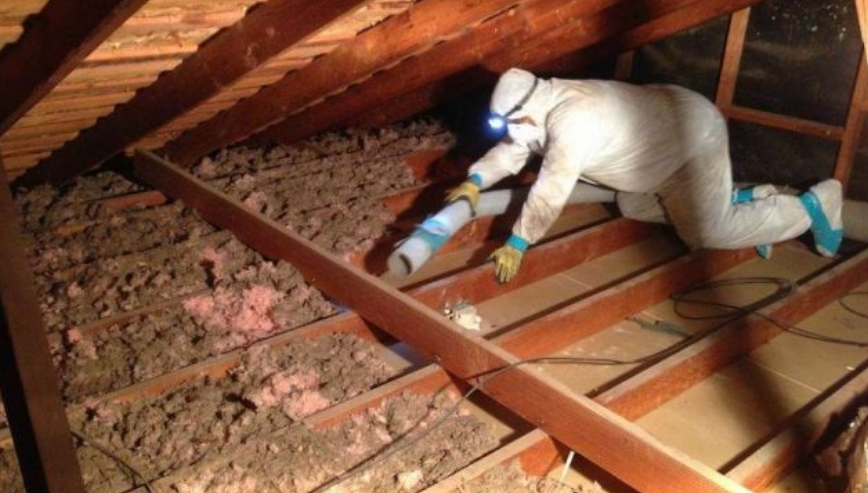
Poor air circulation traps moisture build-up in the roof space, which is where most “roof leaks” that aren’t actually leaks begin.
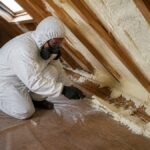
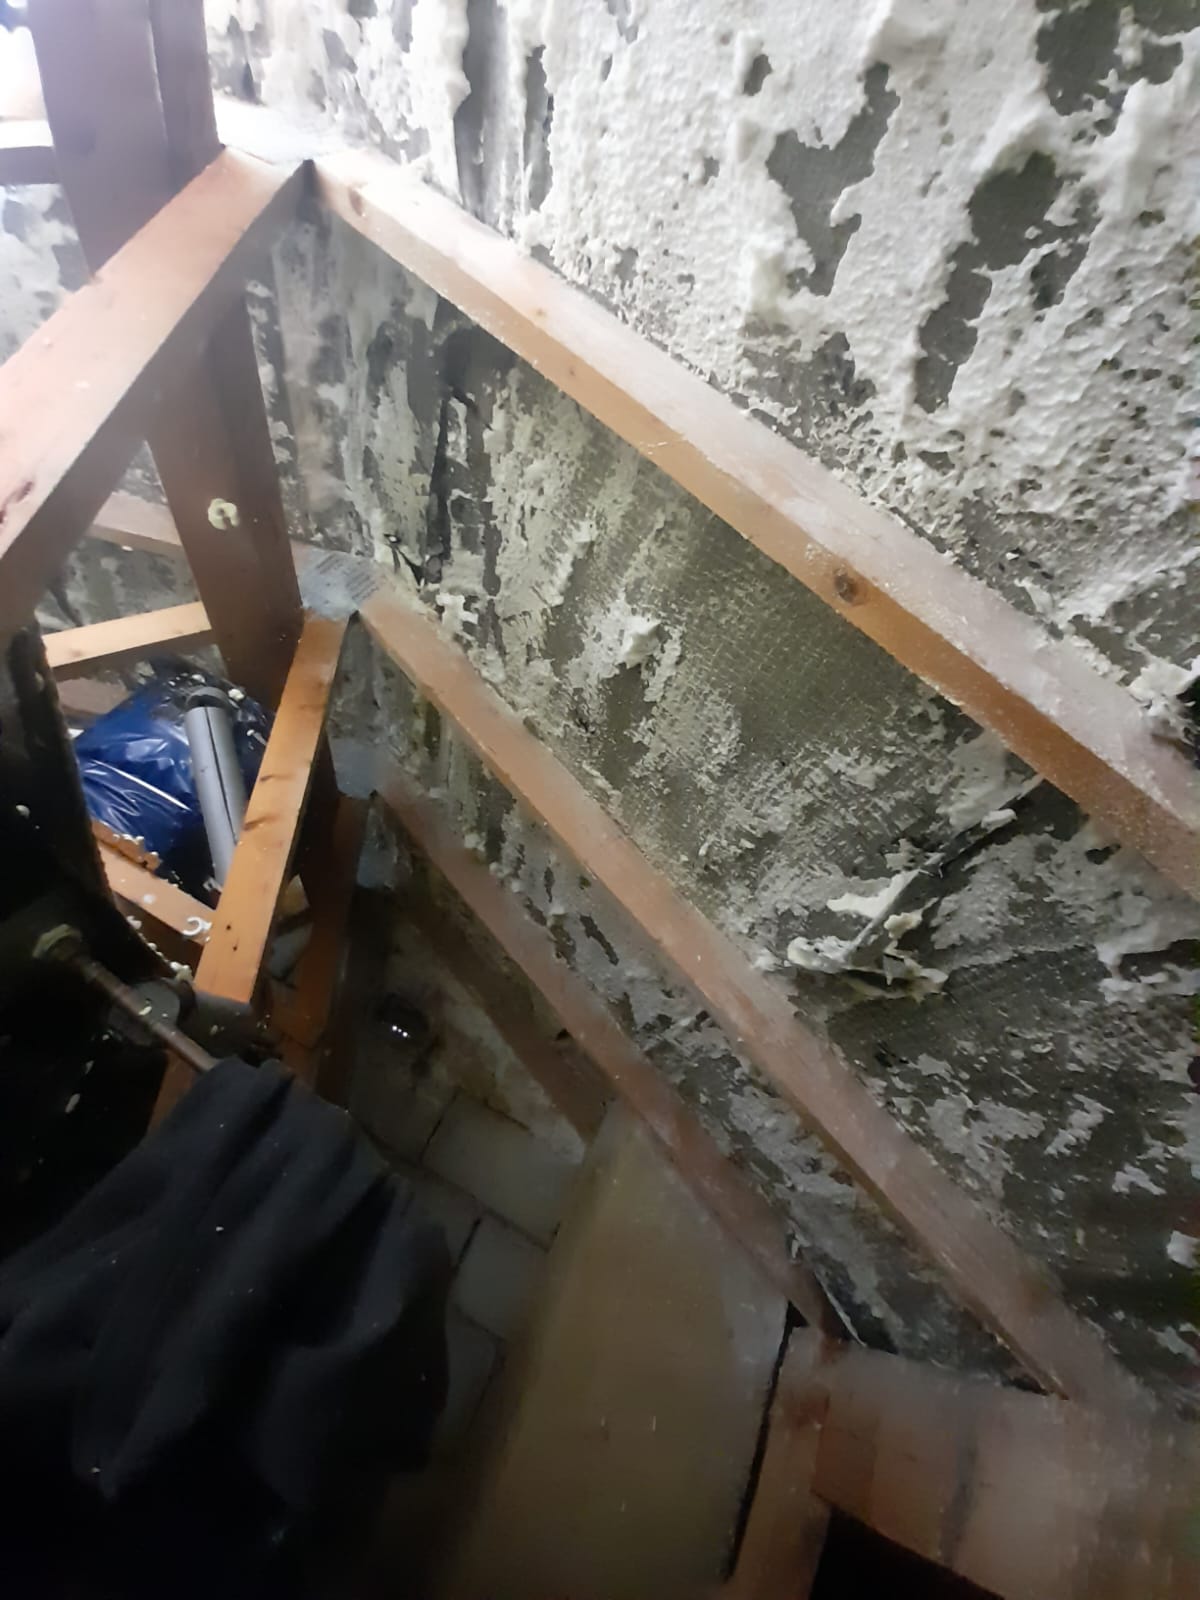
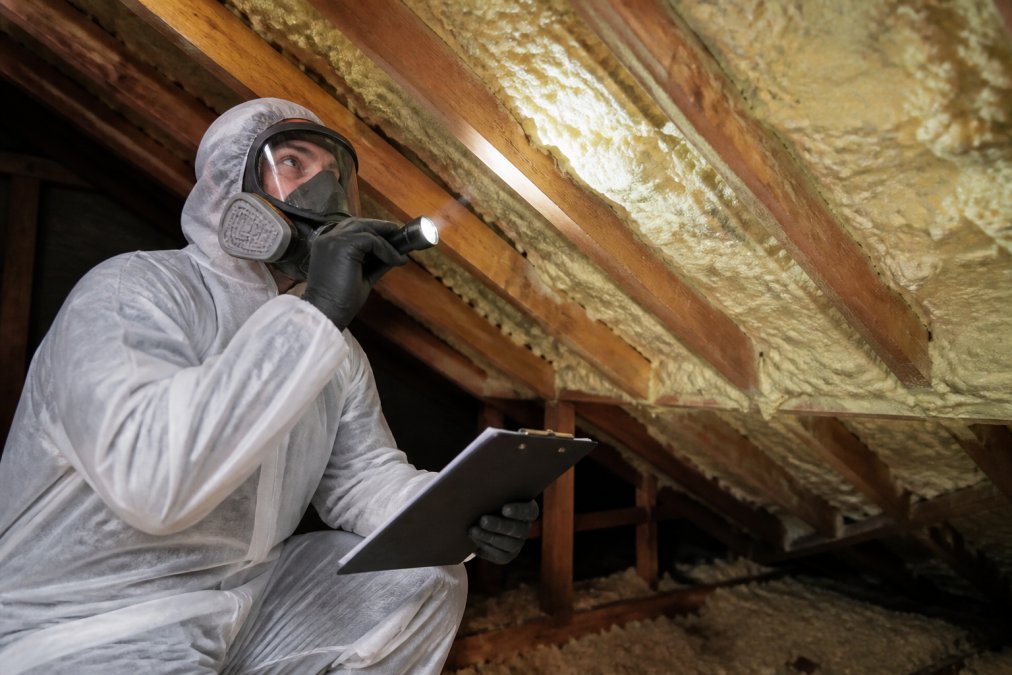
Spray foam insulation damp issues occur when foam is applied directly to the underside of a roof covering, sealing the timbers and blocking ventilation. The foam doesn’t create water, but it traps moisture against the roof deck and stops the roof drying out, showing up over time as wood rot, fungal growth, and damp patches on ceilings.
This is where a lot of homeowners get stuck: a lender or surveyor spots spray foam in the loft and the mortgage or equity release application stalls, because the foam hides the condition of the timbers underneath. IUEX has handled over 3,600 projects of exactly this kind, and we’re fully certified to issue the Mortgage and Equity Release certificates lenders need.
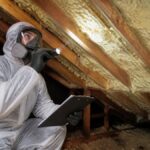
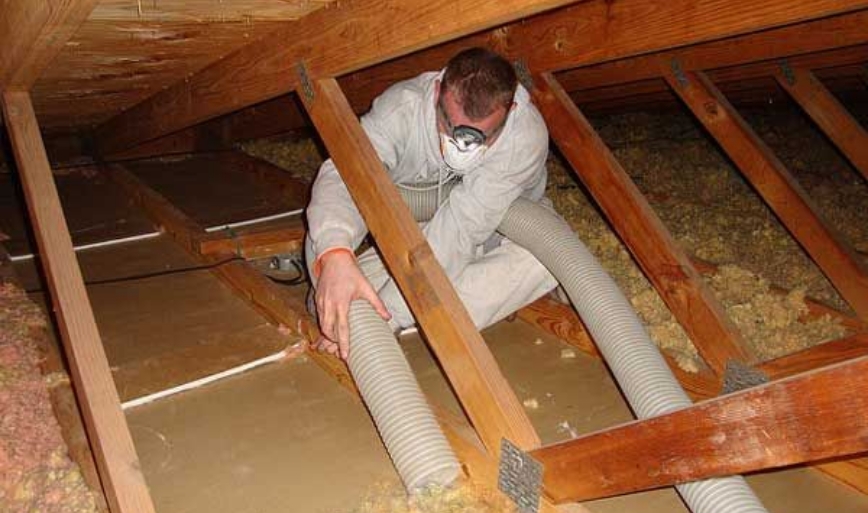
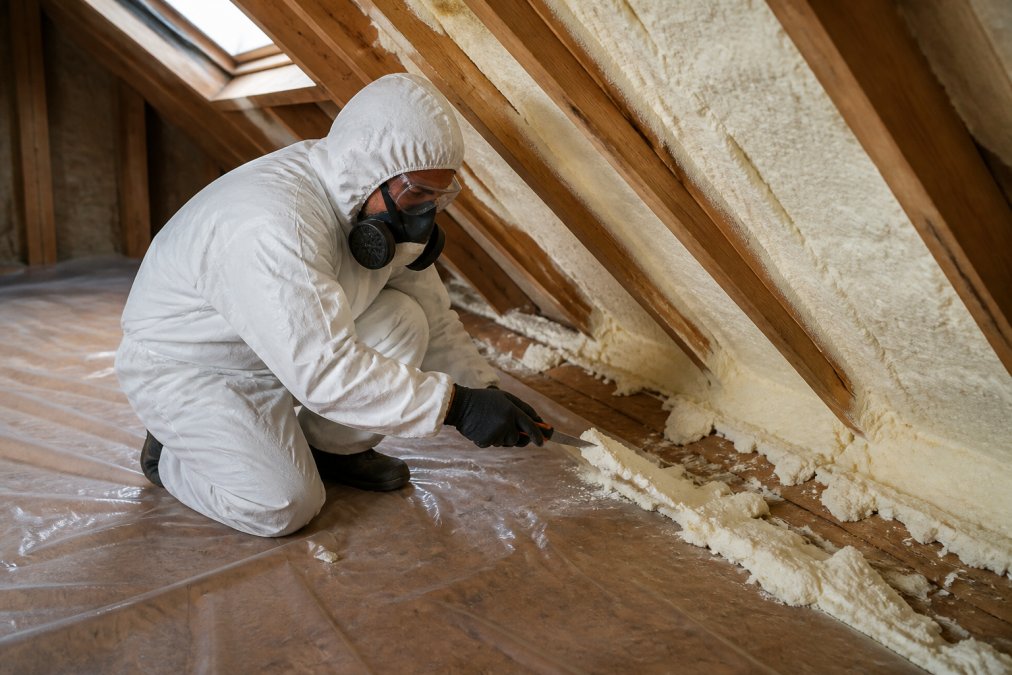
If spray foam is present and damp is following it, removal is usually the only reliable fix. It’s not a job for a Stanley knife and a weekend: the foam has to come off without damaging the roof membrane, the timbers need inspecting once exposed, and any rot found underneath has to be dealt with properly.
Key Takeaway: Spray foam traps moisture against roof timbers and blocks ventilation. When damp and foam appear together, removal and inspection of the timbers is the fix, not a patch over the top.
Structural leaks need repairing at the point of entry, not at the damp patch on your ceiling. Once you’ve identified where water is getting in, the repair depends on the covering material and the defect: the same damp patch needs a completely different fix on a slate roof, a clay-tiled roof, and a flat roof.
Natural slate is long-lived but brittle at the fixings. Common failures are slipped slates (corroded nails), cracked slates from foot traffic or frost, and failed mortar or lead at the head of a course.
Slate repairs are best done from a scaffold or secured roof ladder, not by leaning over the eaves. Slate is unforgiving underfoot, and a slipped slate is a fall risk as well as a leak.
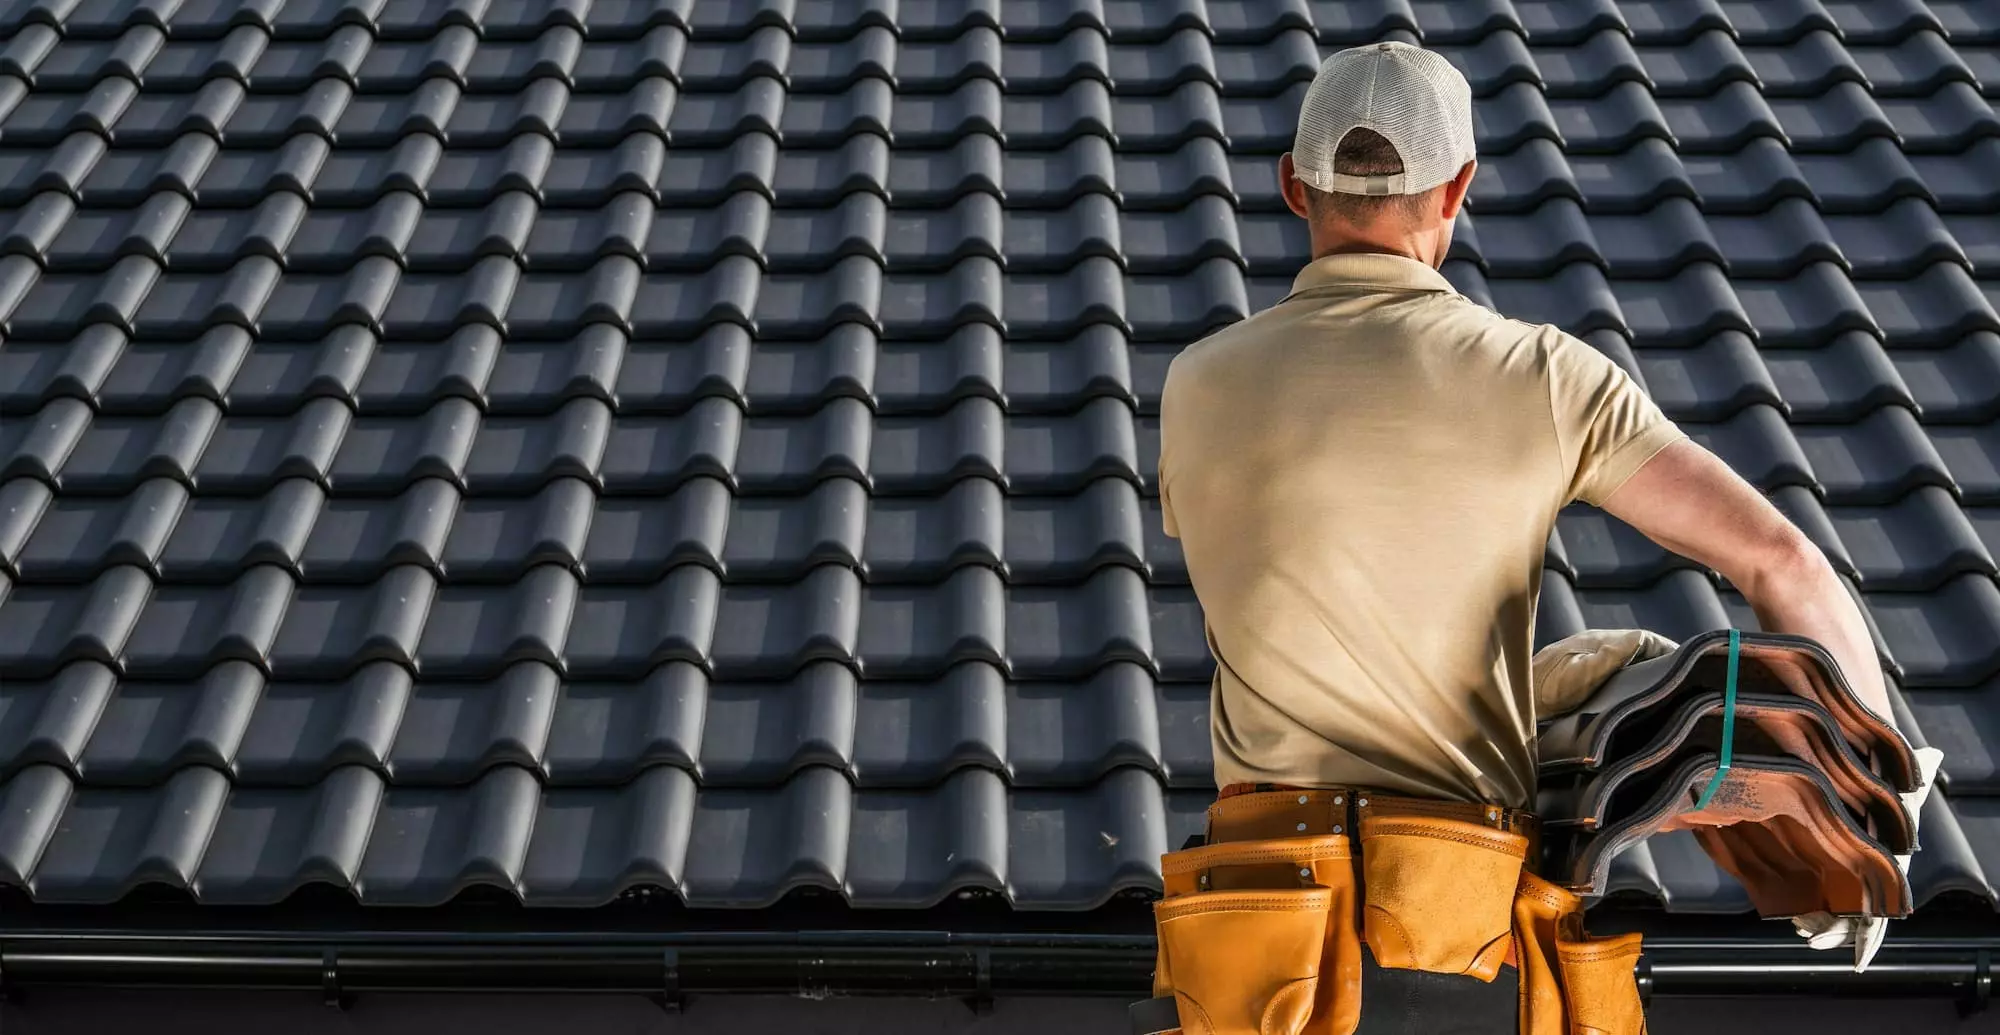
Tiles are heavier and more forgiving than slate, but they move. Common failures are cracked tiles, slipped tiles at the verge or ridge, and perished mortar bedding at the ridge and hip.
Pro Tip: Photograph every defect before you repair it, and photograph the repair. If you later sell, or a surveyor queries the roof, a dated record of what was done and when is worth more than a verbal account.
How to find a competent roofer
| Situation | Sensible approach |
|---|---|
| Single slipped or cracked tile, accessible from a ladder | DIY, with a roof ladder and a second person present |
| Blocked guttering or downpipe at low level | DIY |
| Failed flashing around a chimney or valley | Professional, the detail is easy to get wrong and hard to see |
| Multiple defects, or a leak that returns after a patch | Professional assessment |
| Any work on a roof above two storeys, or on a steep pitch | Professional, with scaffold |
| Spray foam present, or a lender has flagged the roof | Specialist, see Step 5 |
| You are unsure whether the roof is safe to walk on | Professional |
Key Takeaway: Remove the mould only after you’ve fixed the water source, work to a seasonal maintenance schedule, and treat any job that needs a scaffold or fall-arrest system as a professional one. The cheapest repair is the one you never have to make.
Best For: Homeowners with spray foam in the loft who’ve been told by a lender or surveyor that it needs to come out before a mortgage, remortgage, or equity release can proceed.
Rising damp can be fixed, but it requires identifying the underlying cause. This often involves installing a damp-proof course or repairing a defective one. However, in roof spaces, dampness is more commonly caused by penetrating damp or condensation rather than rising damp. A professional survey will confirm the source and recommend the correct repair method.
Your roof is likely getting damp and sweaty due to condensation. Warm, moist air from inside your home rises into the cold roof space. When it meets a cold surface, it turns into water droplets. This is common when roof ventilation requirements UK are not met or when insulation blocks airflow at the eaves.
Yes, spray foam insulation damp issues are a common problem. When sprayed directly onto the underside of the roof covering, it can trap moisture and prevent the roof from breathing. This leads to condensation, wood rot, and damaged roof timbers. Removing the foam and restoring airflow is often the only permanent fix.
The key difference is timing and location. Condensation appears on cold surfaces like roof timbers or metal fixings, often after cooking or showering. Penetrating damp appears as damp patches on ceilings or walls, usually after heavy rain. A moisture meter can help confirm the source before you begin any repairs.
How to Remove Spray Foam Insulation: Step-by-Step Guide Home How…
Spray Foam Removal vs Roof Replacement Costs Home Spray Foam…